Bathroom Decor
How To Install Shower Curtain Rod?
Jun
Looking to enhance your bathroom with a new shower curtain? In this comprehensive guide, we’ll walk you through the step-by-step process of installing a shower curtain rod with precision and ease. Whether you’re installing a fixed shower curtain rod, a tension rod, or seeking alternative methods without drilling or screws, we’ve got you covered. So, let’s dive right in and explore the best practices, tools, and techniques needed to install a shower curtain rod and transform your bathing space.
I. What Are Tools And Materials For How To Install Shower Curtain Rod?
To successfully install a shower curtain rod, you’ll need the following tools and materials:
1. Necessary Tools:
- Level: Use a bubble or laser level to ensure your curtain rod is installed straight and level.
- Screwdriver: Depending on the type of screws used, a Phillips or flat-head screwdriver may be required.
- Measuring Tape: Accurately measure the desired height and length for proper installation.
- Pencil or Marker: Use to mark the mounting points on the wall for precise placement.
- Power Drill: Required for drilling holes, if applicable, in certain installation methods.
- Wall Anchors: Use anchors to provide additional support when mounting the curtain rod onto drywall or plaster.
- Adjustable Wrench: If your shower curtain rod requires tightening, an adjustable wrench will come in handy.
2. Materials:
- Shower Curtain Rod: Choose the appropriate type and size of the curtain rod for your shower space.
- Brackets: These support the curtain rod and help secure it to the wall.
- Screws: Select screws that are suitable for the type of wall material (wood, drywall, tile, etc.) you are mounting the curtain rod onto.
- Anchors: If necessary, use anchors to provide stability and strength when mounting onto hollow walls or ceramic tiles.
- Adhesive Hooks or Rods: Alternative materials for installation without drilling into ceramic tiles or using screws, as per specific installation requirements.
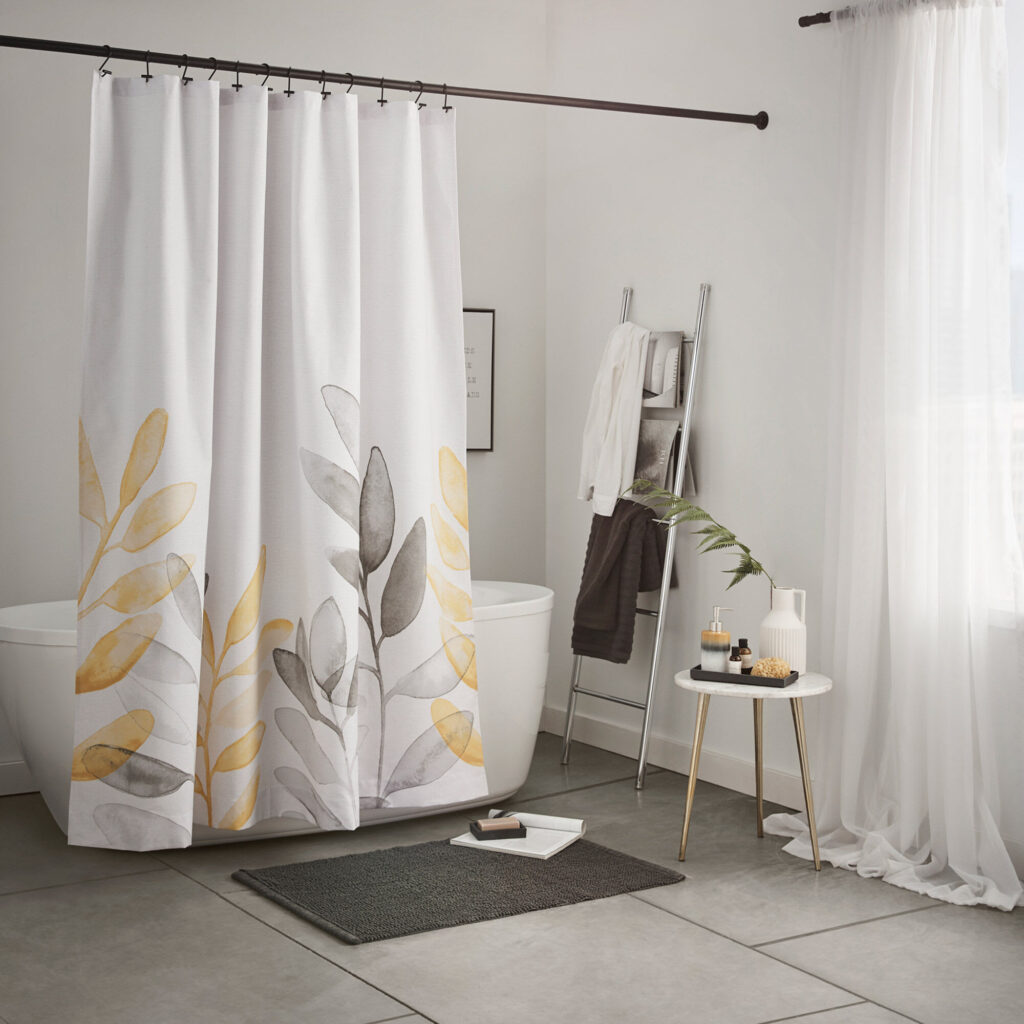
II. How To Install A Fixed Shower Curtain Rod?
When it comes to installing a fixed shower curtain rod, follow this step-by-step guide for a successful installation:
- Marking the desired height and location: Use a measuring tape to determine the ideal height for your curtain rod. Mark the spots on the wall where the brackets will be mounted.
- Mounting the brackets onto the wall: Position the brackets based on your marked spots and use a level to ensure they are straight. Securely attach the brackets to the wall using the appropriate screws and a screwdriver.
- Attaching the rod to the brackets: Place the shower curtain rod onto the mounted brackets, ensuring it is centered and level. Depending on the design of the rod, it may need to be screwed or snapped into place.
- Ensuring proper alignment and levelness: Double-check the alignment and levelness of the curtain rod. Make any necessary adjustments to ensure it is straight and even.
- Tightening the screws securely: Once you are satisfied with the alignment, use a screwdriver to tighten the screws on the brackets, securing the curtain rod firmly in place.
III. How To Install A Tension Rod?
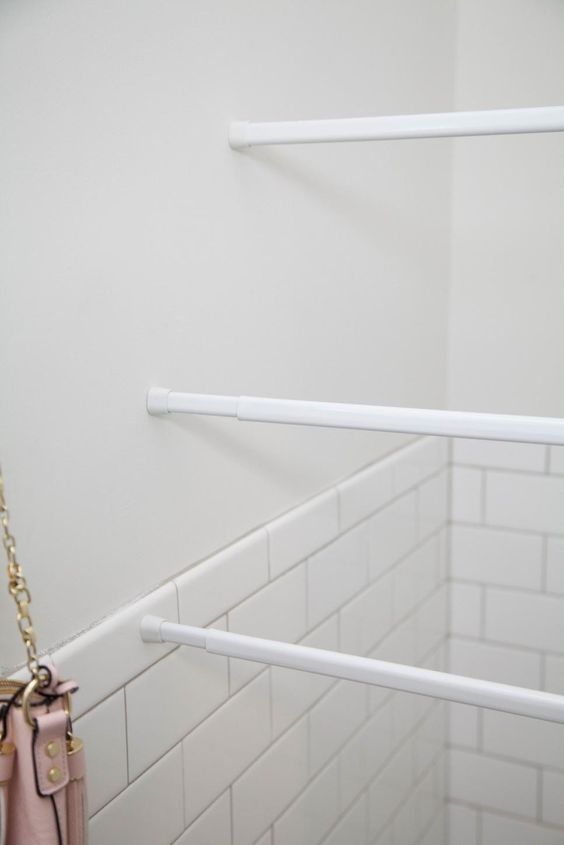
When it comes to installing a tension shower curtain rod, follow this step-by-step guide for a successful installation:
- Measuring the desired length: Use a measuring tape to determine the appropriate length for your tension rod. Measure the distance between the walls or shower enclosure where the rod will be placed.
- Extending the rod to fit the space: Adjust the length of the tension rod by twisting the inner rod counterclockwise to loosen it. Extend the rod until it matches the measured length.
- Adjusting the tension to secure the rod in place: Place the rod into position between the walls or shower enclosure. Apply outward pressure on both ends of the rod to create tension. Continue adjusting until the rod fits tightly and securely in place.
IV. How To Install A Shower Curtain Rod Into Ceramic Tile Without Drilling
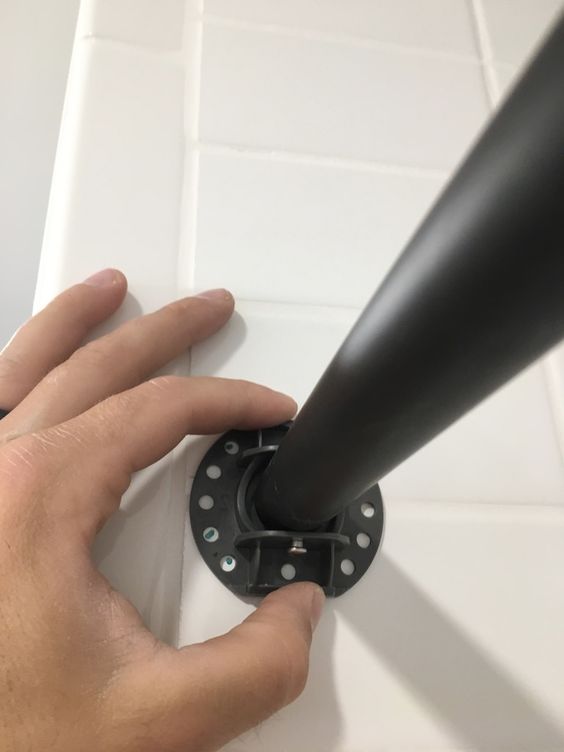
If you’re looking to install a shower curtain rod into ceramic tile without drilling, follow these step-by-step instructions for a secure installation:
- Using adhesive hooks or rods designed for tile installation: Look for adhesive hooks or rods specifically designed for use on ceramic tile. These products are designed to provide a strong and reliable hold without the need for drilling.
- Step-by-step instructions for secure installation:
- Clean the tile surface: Ensure the ceramic tile surface is clean and free from any dust or debris. Use a mild cleaner and a soft cloth to wipe the area where the adhesive will be applied.
- Apply adhesive: Following the manufacturer’s instructions, apply the adhesive to the back of the hook or rod. Make sure to distribute it evenly.
- Position and press firmly: Carefully position the hook or rod onto the ceramic tile, aligning it with your desired location. Press firmly to ensure proper adhesion.
- Allow curing time: Allow the adhesive to cure as per the manufacturer’s instructions. This will typically take a few hours or overnight.
- Test the installation: Once the adhesive has fully cured, gently test the stability of the installed hook or rod to ensure it is securely attached to the ceramic tile.
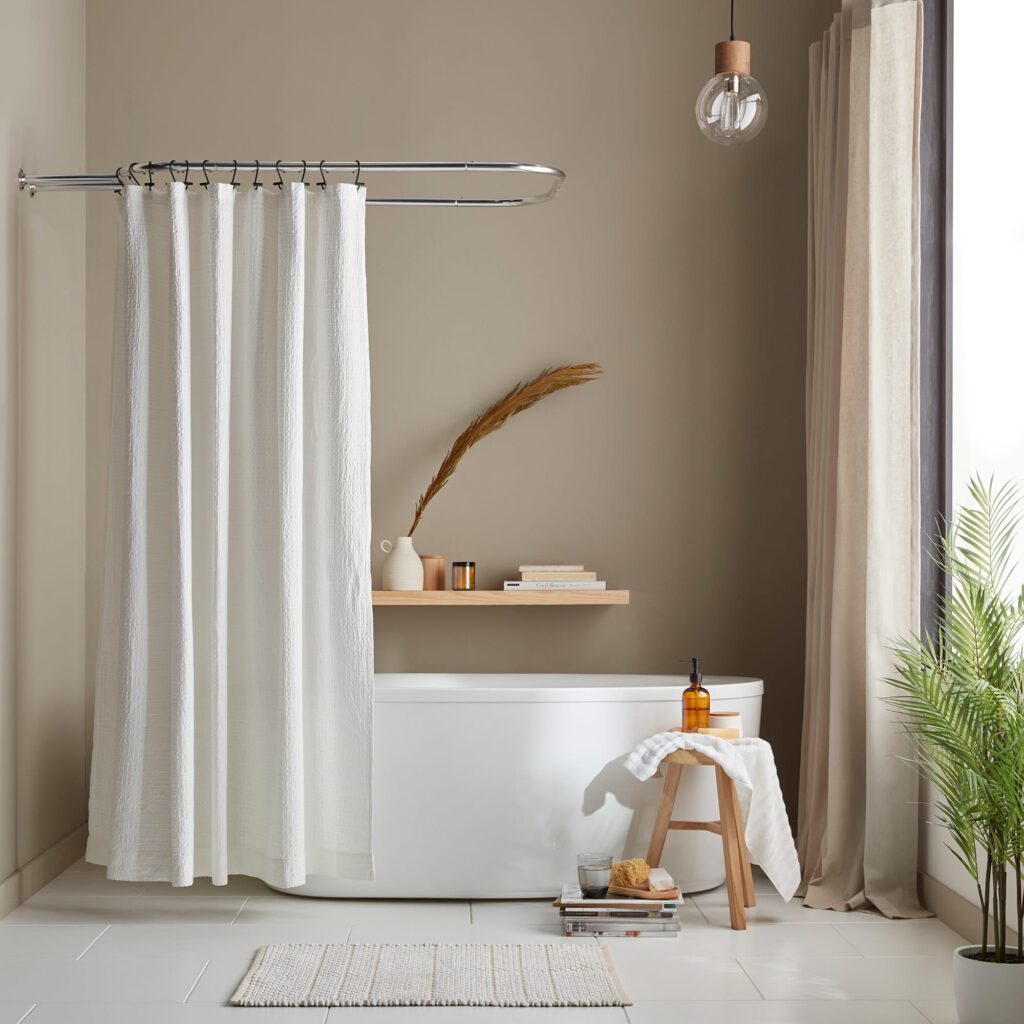
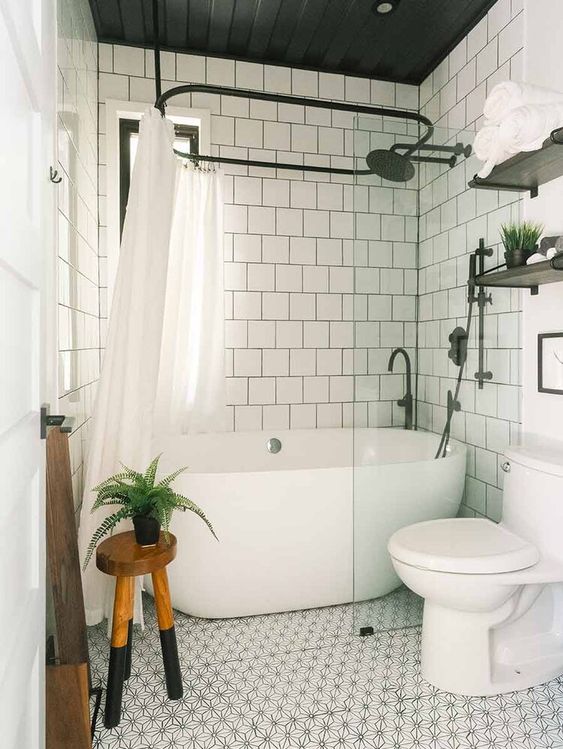
V. How To Install A Curved Shower Rod Without Screws
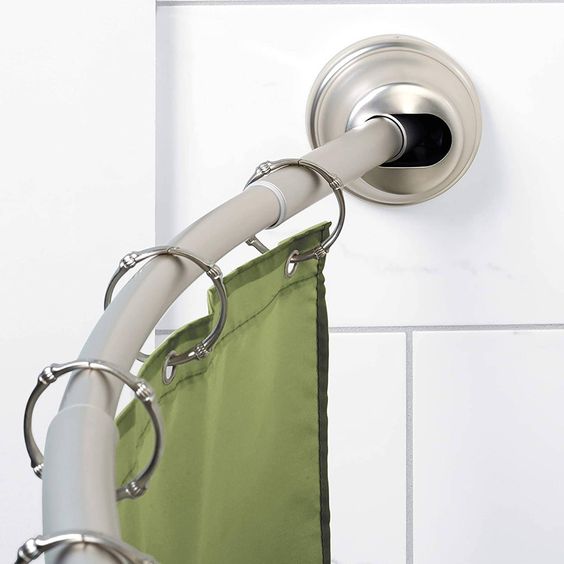
Curved shower rods are designed with tension or adjustable mechanisms that allow them to be installed without the need for screws. The curved shape adds extra space and an elegant touch to your shower area, enhancing both functionality and aesthetics.
Step-by-step guide for mounting a screwless curved shower rod:
- Measure and mark: Determine the desired height and location for the curved shower rod. Use a measuring tape and pencil to mark the spots where the rod will be installed.
- Extend the rod: Extend the rod to its maximum length by twisting the ends in opposite directions. This creates tension and allows the rod to fit securely within the designated space.
- Position the rod: Place the curved shower rod into position between the walls or shower enclosure. Make sure it aligns with your marked spots.
- Adjust and secure: Apply outward pressure on both ends of the rod to create tension and ensure a snug fit. Keep adjusting the rod’s position until it fits securely and does not wobble or move.
- Test and finalize: Gently test the stability of the curved shower rod to ensure it is securely in place. Make any necessary adjustments, if required.