Bathroom Decor
How To Make A Shower Curtain?
Jun
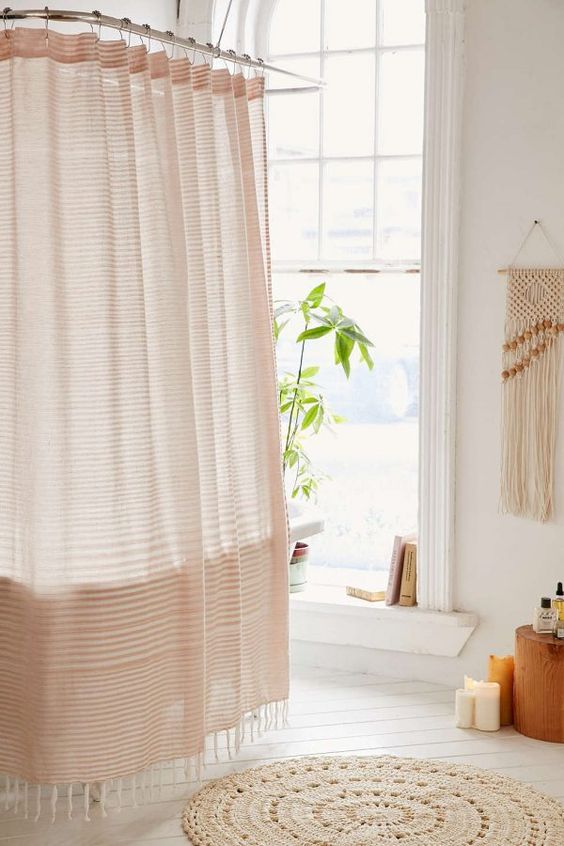
Welcome to our comprehensive guide on how to make a shower curtain! Are you tired of searching for the perfect shower curtain that suits your style and size requirements? In this step-by-step tutorial, we’ll walk you through the process of creating your own customized shower curtain. Whether you’re a seasoned DIY enthusiast or a beginner looking to unleash your creativity, this article has got you covered. Get ready to transform your bathroom with a unique and personalized shower curtain that reflects your individuality.
I. Materials And Tools For How To Make A Shower Curtain
When it comes to making a shower curtain, having the right materials and tools is essential. Here’s a list of what you’ll need to get started:
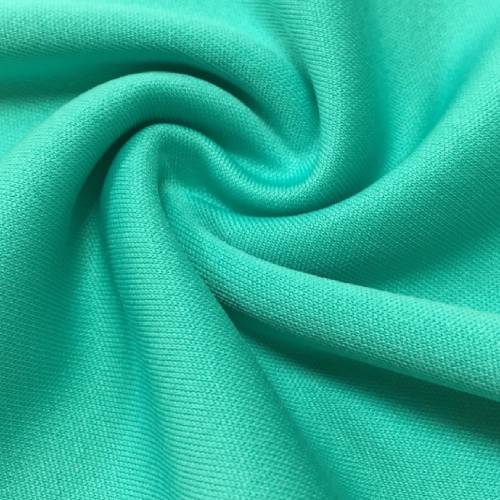
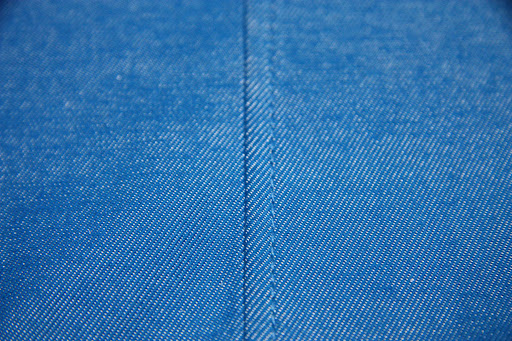
- Fabric: Choose a fabric that is suitable for a shower curtain, such as polyester. It is durable, water-resistant, and easy to clean. Other options include cotton blends or waterproof fabrics designed specifically for bathroom use.
- Measuring Tape: Accurate measurements are crucial to ensure your shower curtain fits perfectly. Have a measuring tape handy to measure the length and width of your desired curtain size.
- Scissors: A good pair of fabric scissors will make cutting the fabric easier and more precise.
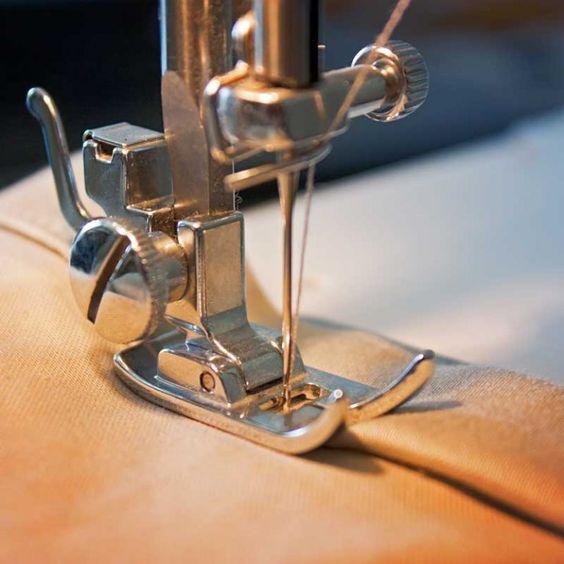
- Sewing Machine: While it’s possible to sew a shower curtain by hand, a sewing machine will save you time and provide more professional-looking results.
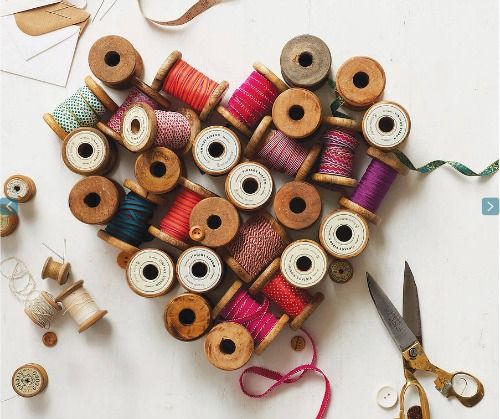
- Thread: Choose a strong and durable thread that matches or complements your fabric color.
- Iron and Ironing Board: Ironing your fabric before and during the sewing process will help create crisp seams and eliminate any wrinkles.
- Pins or Clips: These will be used to hold the fabric in place while sewing.
- Optional: If you decide to add grommets or create buttonholes for hanging your shower curtain, you will also need grommets, an anvil, a grommet tool, and a hammer. Alternatively, if your sewing machine has an automatic buttonhole mode, you can use it to create buttonholes.
II. Preparing The Fabric Before Making A Shower Curtain
To ensure your shower curtain stands the test of time, it’s crucial to properly prepare the fabric before sewing. Here are some essential steps to follow:
- Preventing Fraying: Fabric edges can fray over time, leading to a less durable curtain. To prevent this, there are several methods you can use. One option is to use a serger, which is a specialized sewing machine that finishes the edges with a neat and secure stitch. Another method is using a zig-zag stitch on a regular sewing machine, which helps seal the edges and prevent fraying.

- Finishing with a Flat Felled Seam: If you plan to use a clear shower liner, it’s important to have clean and polished seam edges. One effective technique is the flat felled seam. Start by trimming one edge of the fabric to about 1/8 inch. Then, fold the other edge under and sew on the folds, encapsulating both edges. This creates a neat and professional finish, ensuring your curtain looks great when viewed through the liner.
III. Hemming The Curtain
A properly hemmed shower curtain not only adds a polished look but also ensures it hangs correctly. Follow these steps to create a sturdy and well-finished hem:
- Weighted Bottom Hem: To give your shower curtain the right amount of weight and drape, use a four-inch double-fold hem. Fold the bottom edge up four inches and iron it to create a crisp fold. Then, fold it up another four inches and iron again. This double-fold hem adds stability and prevents the curtain from flaring or billowing.
- Folding and Ironing: To ensure your hem hangs properly, fold under the corners of the hem. Fold the corner fabric diagonally, creating a neat triangle. Secure the folded corners with pins, ensuring they are firmly held in place. Iron the folded hem and corners to maintain their shape and create a clean finish.
- Securing with Pins: As you work your way along the hem, use pins to hold the folded layers together. This will keep the fabric in place and make it easier to sew a straight and even hem.
IV. Hemming The Top Of Your Shower Curtain

The top hem of your shower curtain not only provides a finished look but also plays a crucial role in hanging it securely. Follow these steps to create a clean and functional top hem:
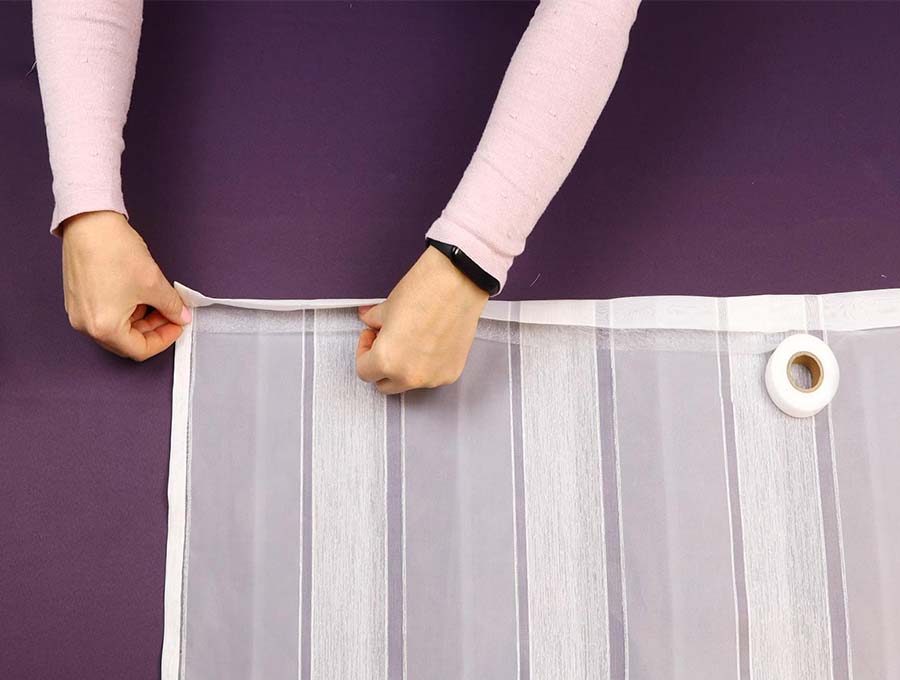
- Two-Inch Double-Fold Hem: Start by folding the top edge of the curtain down by two inches. This will create a double-fold hem that adds strength and stability to the top of the curtain. Use an iron to press the fold, ensuring it stays in place.
- Folding and Ironing: Once the initial fold is made, fold the fabric down again by another two inches. This double-fold creates a clean and polished hem. Iron along the fold to make it crisp and smooth.
- Sewing the Top Hem: With the folded hem in place, it’s time to sew. Using a sewing machine, stitch along the bottom edge of the hem, securing the layers together. Choose a thread color that matches or complements the fabric for a seamless look. Sew with a straight stitch or any decorative stitch of your choice.
V. Hanging Options For Your DIY Shower Curtain
Once you’ve finished making your shower curtain, it’s time to explore different methods for hanging it. Here are two popular options along with step-by-step instructions:
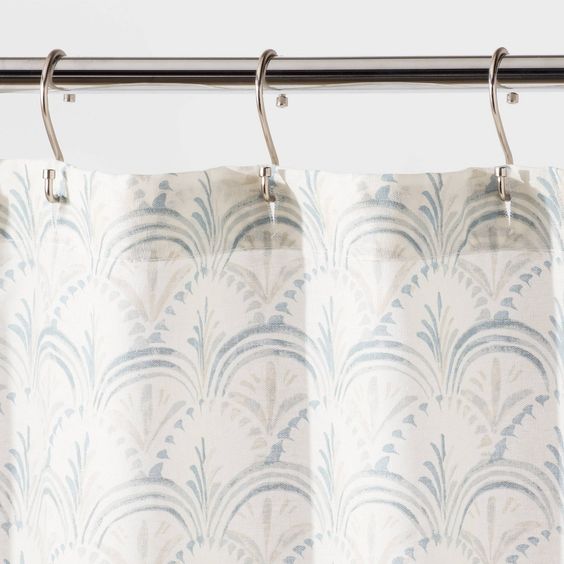
1. Grommets
Grommets provide a sleek and modern way to hang your shower curtain. Here’s how to use them:
- Marking Placement: Begin by marking the placement of the grommet holes. Space them evenly, approximately six inches apart, and start a couple of inches from the side and one inch from the top.
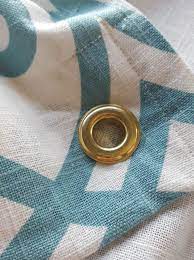
- Inserting Grommets: Position the grommet barrel on the marked spot and trace around the interior of the barrel. Make a grommet hole for each mark. Then, insert the grommet barrel from the right side of the fabric.
- Placing the Anvil: Place the anvil on a sturdy surface, such as concrete or quartz.
- Positioning the Grommet: Position the grommet on the anvil, and place the washer over the barrel, tooth side down.
- Hammering: Use a hammer to firmly hammer the stud end of the grommet into the barrel. Repeat this process for all the other grommet holes.
2. Buttonholes:
Buttonholes offer a versatile and decorative option for hanging your shower curtain, especially if your sewing machine has an automatic buttonhole mode. Here’s how to make buttonholes:
- Marking and Sewing: Mark the placement of the buttonholes along the top hem of the curtain. Space them evenly, ensuring proper alignment with your shower curtain hooks or rings. Use the automatic buttonhole mode on your sewing machine to sew the buttonholes. Follow your machine’s instructions for setting up and sewing buttonholes.